
Ever been in an expo or convention and got jealous (in a good way) of the T-shirts you saw there? Frankly, that’s because custom T-shirt logo placement affects how professional, readable, and memorable your shirts look.
The right choice depends on your logo shape because not all logos fit all T-shirt styles and locations the same. It also depends on the shirt’s purpose, the garment size range, and the decoration method.
For a clean business uniform, start with a left-chest logo around three to four inches wide. For event merch or team apparel, a center-chest or full-back design gives your logo more room to stand out.
Use the measurements in this guide as starting points, then confirm the final size and position with your printer’s template and production proof.
CONTENTS TABLE
Choose a Custom T-Shirt Logo Placement: 5 Types
The four most common placements are left chest, center chest, full back, and sleeve. Each one creates a different look and gives your artwork a different amount of space.
| Placement | Typical Starting Size | Best Use | What to Keep in Mind |
| Left chest | 3 to 4 inches wide | Uniforms, business apparel, and staff shirts. | Keep small text readable and avoid pushing the logo too close to the armhole. |
| Center chest | 5 to 8 inches wide for a smaller logo | Casual branded shirts, clubs, and event apparel. | A centered logo gets noticed quickly, so give it enough breathing room below the collar. |
| Full front | 10 to 14 inches wide | Bold graphics, campaign shirts, and merchandise. | Check the supplier’s maximum print area before finalizing. |
| Full back | Up to 12 inches wide by 14 inches tall | Teams, events, and designs meant to be seen from behind. | Keep the top of the artwork clear of the collar and shoulder seams. |
| Sleeve | 2.5 to 4 inches wide | Secondary marks, short text, and small details. | Sleeve width changes by shirt size, so review a proof carefully. |
Left Chest Logo Size
The left chest is the standard choice for branded business shirts. It feels familiar and polished, which makes it a good fit for employee uniforms, customer-facing teams, volunteer shirts, and company swag.
Start with a logo that is three to four inches wide on adult shirts. A wider horizontal logo can sometimes reach 4.5 inches, but only if it still sits comfortably within the chest area. Small, circular marks often look better closer to three inches wide because they can appear larger than a horizontal logo with the same measurement.
Use the wearer’s left side. Start by positioning the design below the collar area and away from the center of the shirt. Then check the placement on the actual garment. A logo that looks centered on a flat mockup can shift once the shirt is worn.
A left-chest logo works especially well when your mark includes a short business name, icon, or monogram. If your logo contains a long tagline or detailed illustration, simplify it or choose a larger placement.
Center Chest Logo Dimensions
A center-chest logo sits on the front of the shirt, below the collar and above the middle of the torso. It creates more visibility than a left-chest logo without taking over the entire shirt. This works best for larger logos or logos that blend with other elements of the overall design.
For a smaller centered logo, use a starting width of five to eight inches. This size works well for a sports team name, a club emblem, a bold wordmark, or a simple graphic. Position the top of the design a few inches below the collar so it doesn’t feel crowded against the neckline.
Keep the design visually balanced, not just mathematically centered. A wide logo with text may need to sit slightly differently than a compact square graphic. Ask your printer for a digital proof, then check the artwork on the garment size you expect to order most often.
Full-Front Logo Dimensions
A full-front design uses more of the shirt’s front panel. This placement is better for artwork that needs room, such as a campaign graphic, event illustration, large brand name, or detailed team design.
A common starting range is 10 to 14 inches wide. The right final width depends on the shirt size, printable area, and the design’s proportions. A tall design may need less width. A wide wordmark may need more.
Don’t assume one large size will look right across every shirt in the order. A graphic that nicely fills an adult XL can overwhelm a youth shirt. If your order includes a broad size range, ask about separate artwork sizes or review how the supplier scales the design for smaller garments.
Full-Back Logo Dimensions
A full-back logo gives your brand the most room and the most visibility from a distance. It’s a popular choice for charity events, sports teams, trade crews, restaurant staff, and promotional shirts.
Start with artwork up to 12 inches wide and 14 inches tall for a standard adult shirt, then compare that artwork with the printer’s stated print area. Keep the top of the design several inches below the collar and make sure the bottom doesn’t run too close to the hem.
Full-back placement pairs well with a small left-chest logo. The front stays professional for close conversations, while the back carries the larger design, sponsor details, website address, or event information. Keep the front and back artwork connected visually by using the same colors, type styles, and logo version.
Sleeve Logo Dimensions
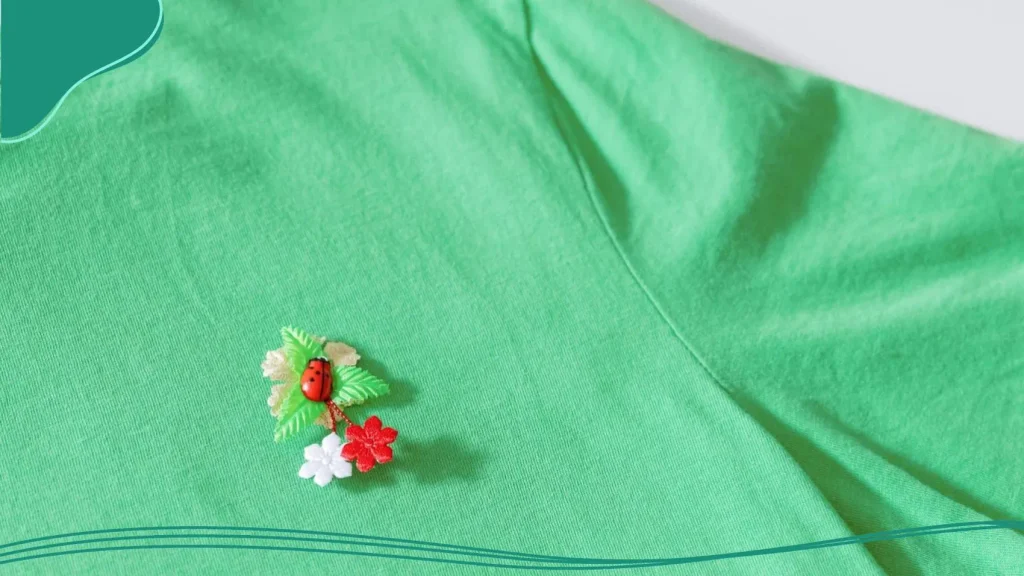
A sleeve logo adds a small branded detail without competing with the main design. It works well beside a left-chest logo, center-chest print, or full-back graphic.
Use a starting width of 2.5 to 4 inches. Usable space depends on the sleeve cut and the garment size. A small icon, abbreviated brand name, short website address, or simple tagline often works better than a detailed logo.
Avoid placing lengthy text on a sleeve. Curved fabric can make it hard to read, and small lettering can lose clarity after printing or embroidery. If the detail matters, use the sleeve for a simple symbol and put the full message on the front or back.
Use This Logo Size Chart for Shirts
Use this chart to plan your artwork before asking for a proof. It isn’t a substitute for a supplier’s print-area template. Shirt cuts, fabric weight, sleeve shape, and decoration method can all change the final usable area.
| Garment Size | Left Chest Logo Width | Center Chest Logo Width | Full-Back Print Width |
| Adult S to M | 3 to 3.5 inches | 10 to 12 inches | 10 to 12 inches |
| Adult L to XL | 3.5 to 4 inches | 12 to 14 inches | 12 to 14 inches |
| Adult XXL and larger | 4 to 4.5 inches | 12 to 14 inches | 12 to 14 inches |
| Youth M to L | 2 to 3 inches | 8 to 10 inches | 8 to 10 inches |
| Youth S and smaller | 2 to 2.5 inches | 6 to 8 inches | 6 to 8 inches |
Scale the artwork to the shirt, rather than applying the same dimensions to every garment. A four-inch left-chest logo can look balanced on an adult XL but oversized on a youth small.
Logo shape matters, too. A tall stacked logo, a round emblem, and a long horizontal wordmark can all have the same width but look very different once printed. Review the height as well as the width before approving the artwork.
Pick Print or Embroidery for Your Logo
Screen printing and embroidery can both work for branded apparel, but they create different results.
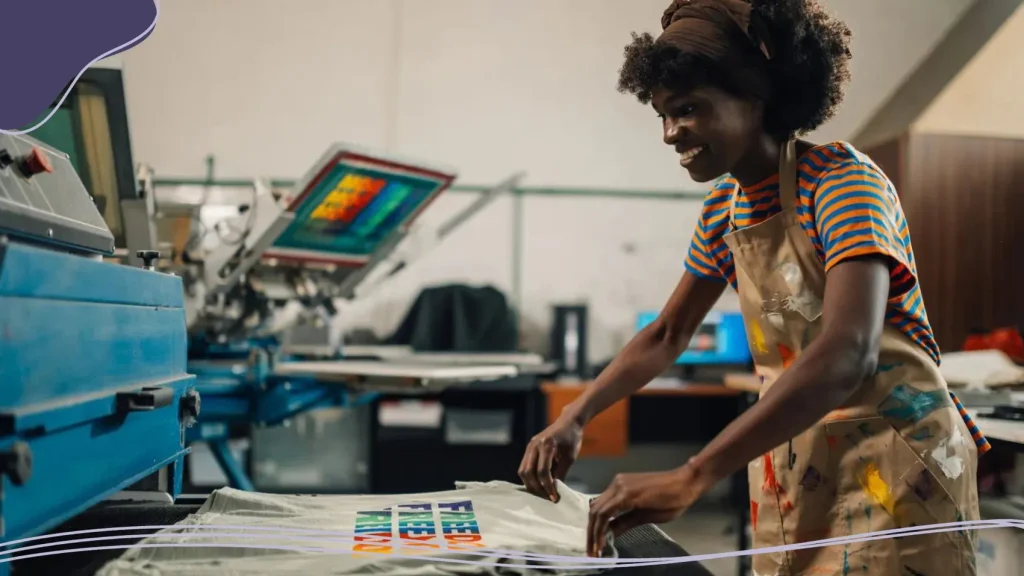
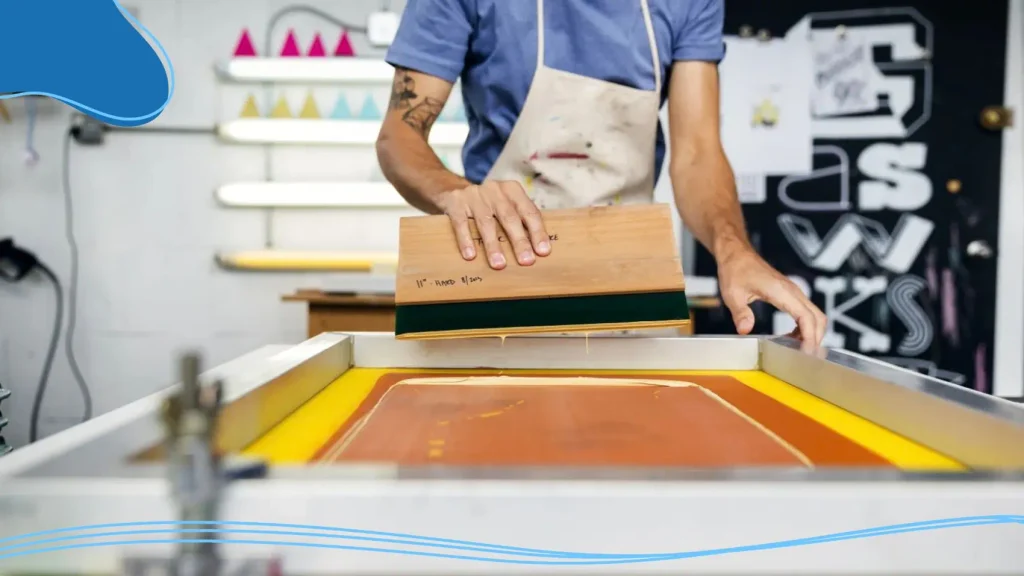
Screen printing is a common choice for center-chest, full-front, full-back, and sleeve designs. It suits larger artwork and gives you room for graphics, text, and color. Your printer can tell you how details, color changes, and print size affect the final production method.
Embroidery is often a strong option for a simple left-chest logo. Thread gives the design a raised, textured finish that can suit uniforms, team apparel, and polished company shirts. It works best with bold shapes, open areas, and lettering that remains readable after stitching.
Fine lines, tiny gaps, gradients, and very small text may not translate cleanly into thread. We recommend a minimum text height of 0.25 inches for embroidery. If your current logo contains fine detail, create a simplified embroidery version that keeps the key icon and brand name while removing elements that would blur or fill in.
At LogoMaker, we help you start with scalable logo files so you can adapt a design for different products. You may use a detailed version for a full-back print and a simpler version for a small embroidered chest mark.
How to Put a Logo on a T-Shirt
Putting a logo on a T-shirt is easier when you make the major decisions before uploading artwork. Follow this order to reduce surprises during production.
- Choose the shirt’s job. Pick a left-chest placement for uniforms and professional staff apparel. Choose a center chest or full front for brand-forward shirts. Use a full back for high visibility at events or on team apparel.
- Match the logo to the location. Use your complete logo for larger prints. Use an icon, monogram, or shortened wordmark when space is limited on the chest or sleeve.
- Plan for the smallest shirt size. If your order includes youth and adult sizes, confirm how the artwork will scale. Don’t wait until after production to find out that the design feels too large on smaller shirts.
- Choose the decoration method. Select print for most larger graphics. Consider embroidery for a simple, premium-looking left-chest design.
- Request and review a proof. Check the print width, height, distance from the collar, color, and placement on the garment. A proof is your chance to catch a logo that appears too high, too low, too large, or too small.
- Order a sample for an important run. A sample helps you review the real shirt before committing to a larger order, especially if you are trying a new garment, color, or decoration method.
Prepare Your Logo File for Printing
Your artwork file affects how sharp the logo looks on the final shirt. A vector file uses lines and shapes that can scale without becoming blurry. SVG and EPS files are common vector formats for print production.
LogoMaker provides SVG and EPS logo files, so you can start with artwork that scales for both a small left-chest mark and a larger back print. Your printer may also accept a high-resolution PNG for some designs. If you use a raster image, make sure it meets the printer’s resolution requirement at the final print size. We recommend 300 dpi or higher at the intended dimensions.
Before you submit the artwork, check these details:
- Confirm the final placement and dimensions with your printer.
- Make sure small text remains readable at the planned size.
- Convert text to outlines if your printer requests an EPS or AI file.
- Provide the requested color information, such as CMYK or Pantone values, if the printer needs it.
- Send the correct logo version for the decoration method.
- Review the supplier’s proof before production begins.
Don’t enlarge a small web image and expect it to print cleanly. Starting with a vector logo saves time and gives you more options as your shirt design changes.
Check These Details Before Ordering
A few minutes of review can prevent an expensive mistake:
- Use the left chest when you want a familiar, professional placement.
- Keep logos with fine detail away from very small print areas.
- Treat sizing charts as a starting point, then use the supplier’s template for final approval.
- Ask how the artwork will change across adult and youth sizes.
- Get a proof that shows the actual shirt color, logo dimensions, and placement.
- Simplify your logo before choosing a small embroidered design.
- Use print-ready SVG or EPS artwork to keep your logo sharp at different sizes.
Your shirt design should feel intentional from every angle. Start with a logo that suits the placement, choose dimensions that fit the garment, and approve the proof before the order moves into production. When you’re ready to turn your brand into wearable merch, explore LogoMaker custom apparel.