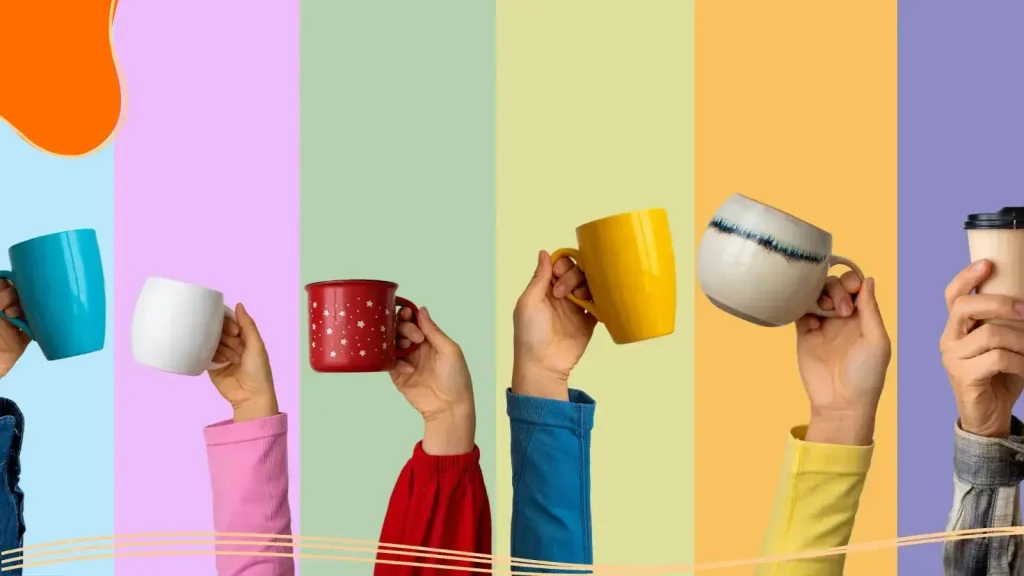
Few products strike the perfect balance between practicality, personality, and promotion quite like a custom mug. Classic ceramic mugs are a staple for personalized mugs, thanks to their versatility, durability, and compatibility with a wide range of designs, including photos, logos, and text.
With tools like LogoMaker, designing graphics or logos for your mugs is actually easier than ever. You can generate professional‑grade artwork with AI in minutes, then bring it to life on ceramic, travel, or enamel mugs without needing expensive design software.
In this guide, you’ll learn exactly how to make custom mugs from scratch, from concept and design to printing and branding across other products. Let’s dive in!
- Why Custom Mugs Work for Brands
- Step 1: Design Your Mug Graphic With AI
- Step 2: Choose the Right Mug Type
- Step 3: Pick Your Production Method
- Step 4: Design Placement & Layout Rules
- Step 5: Order, Test, & Iterate
- Coffee Mug Care & Maintenance
- Custom Mug Packaging & Shipping
- Turning Your Mug Designs Into a Full Branded System
- Copyright Protection For Your Designs
Why Custom Mugs Work for Brands
Custom mugs check every box for more powerful branded merchandise: they’re affordable, useful, and endlessly customizable.
A mug is something people use daily, at the office, in the breakroom, or even during video calls. That consistent use builds long‑term brand impressions far beyond what a flyer or digital ad can do. For small businesses, creators, or event organizers, mugs create a physical connection with your audience. You can easily design and customize mugs with your own photos, text, and images, making them perfect personalized gifts for loved ones or unique promotional items for your brand.
Even better, they blend function with creativity. A witty slogan, distinctive color palette, or simple logo can communicate your brand’s tone instantly. And since tools like LogoMaker let you create a high‑quality logo or design in a few clicks, you can start your mug design journey faster than ever.
Decide What Your Custom Mug Is For
Before jumping into design mode, get clear on your mug’s purpose. The “why” determines everything from material and quantity to style and price point.
Here are some popular use cases:
- Client gifts: A high-quality ceramic or travel mug with your logo adds a personal touch to your professional relationships.
- Staff swag: Perfect for boosting team spirit or welcoming new hires with branded office items.
- Event giveaways: Memorable merch items for trade shows, conventions, or conferences.
- Retail or resale: Sell unique designs online through your own site or a print‑on‑demand storefront, or create your own mug for personal use or to sell under your own brand.
- Welcome kits or promotional bundles: Include mugs alongside tote bags, stickers, or notebooks for a cohesive, branded experience.
Match your design and material to your audience. A tech startup might go for matte black tumblers with sleek laser‑etched logos. A local coffee shop might prefer colorful enamel mugs with rustic typography. Knowing your purpose makes every later decision easier and more practical.
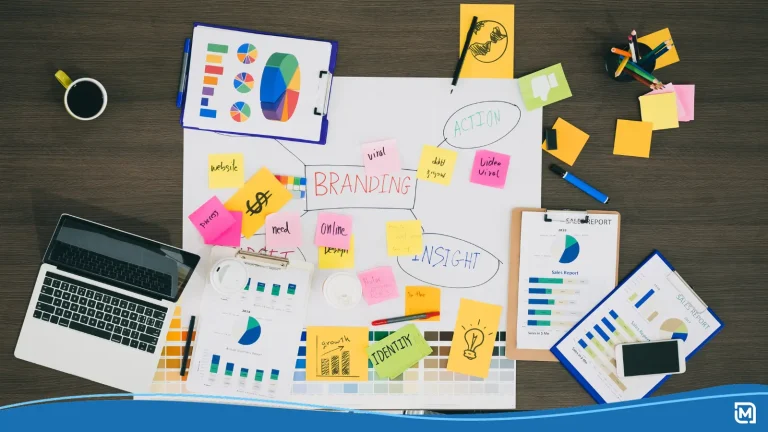
Step 1: Design Your Mug Graphic With AI
The graphic or logo is what turns a blank mug into a branded statement. That’s where LogoMaker’s AI tools shine. You don’t need to be a designer; just bring your idea.
- Define your idea: Think about what you want your mug to say or show. You can add text, images, or pictures to your mug design for greater personalization. This lets you create a unique gift or promotional item that stands out.
- Export print-ready art: Once you’re happy with your design, export it in a high-resolution format. Saving your design as an SVG file is ideal for precise cutting with machines like Cricut or Silhouette.
- Choose colors that print well: Colors look different on a screen versus on glaze. White mugs make bright hues pop, while darker mugs need contrasting light designs. Aim for clarity and high contrast.
Pro Tip: If your design includes text, test lighter fonts on dark mugs and vice versa.
Mug Design Inspiration
When creating custom mugs, please identify your primary objective. Determine the specific occasion, such as design requirements for special events, gift specifications for recipients, or branding elements that represent your company’s identity.
Draw inspiration from established sources: art collections, natural elements, or beverage themes that align with your project goals.
Use social media platforms and online design tools as primary research resources. Search for “mug design” or “custom mugs” to analyze popular trends and gather project inspiration!
Step 2: Choose the Right Mug Type
Your design deserves the right canvas. Mug materials, shapes, and finishes all affect look, feel, and price.
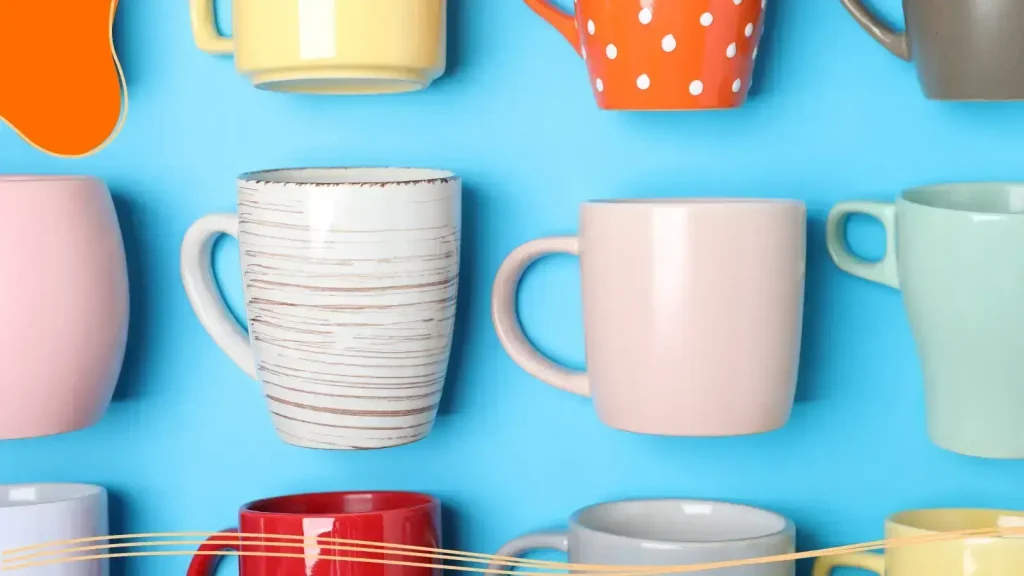
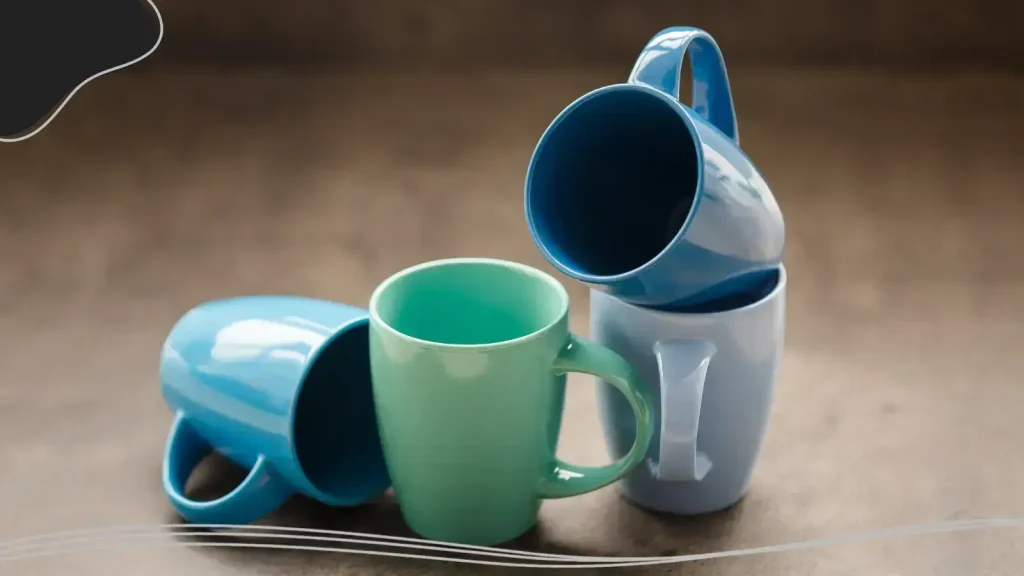
Ceramic Mugs
A ceramic mug, especially a classic ceramic mug, is the most popular and versatile choice for custom mug projects. Classic ceramic mugs are durable, suitable for a wide range of designs like photos or text, and are a staple for personalized gifts and daily routines. Ceramic mugs are also versatile and budget-friendly, making them ideal for colorful designs or photos.
Travel Mugs
Travel mugs are perfect for people on the go. They’re made from stainless steel or plastic, and often come with spill-proof lids.
Enamel Mugs
Enamel mugs are lightweight and have a vintage look. They’re great for camping or outdoor use.
Glass Mugs
Glass mugs are stylish and let you show off layered drinks or colorful designs.
Stainless Steel Mugs & Tumblers
Best for premium gifts or travel‑friendly merch. These mugs often feature engraved or laser‑etched designs rather than full‑color prints.
Microwave Safe & Dishwasher Safe Mugs
Always prioritize functionality alongside aesthetics. When selecting custom mugs for hot beverages such as coffee or hot cocoa, you must verify that the products are both microwave-safe and dishwasher-safe. High-quality ceramic mugs are the recommended solution for custom mug printing applications, as they maintain structural integrity under high temperatures and repeated washing cycles without compromising design vibrancy.
When choosing your mug:
- Consider size and volume (for example, 11 oz vs. 15 oz).
- Look at color combinations; some mugs feature colored interiors or handles that accent your design.
- Check the print area dimensions; a wraparound design needs more space than a single‑logo layout.
Step 3: Pick Your Production Method
Creating custom mugs can involve DIY methods or professional printing services and requires materials like blank mugs, heat-resistant transfer materials, or adhesive vinyl. How you print your design affects quality, cost, and production time.
Let’s break down the main methods businesses and creators use.
Print‑on‑Demand (POD)
For most readers, this is the easiest route, especially if you’re selling online. POD services (like Printify, Printful, or LogoMaker) let you upload your design and automatically print it.
How it works:
- Create your logo or graphics.
- Upload the design to your chosen POD partner.
- Pick the mug style and preview your design on different mockups.
- Set your retail price and start selling.
Pros:
- No upfront costs or inventory.
- Automated production and shipping.
Sublimation Printing
If quality and durability matter most, sublimation is a top choice. This heat‑transfer method infuses ink directly into the mug’s coating, producing bright, permanent colors that won’t fade with washing.
When to use: Full‑color designs, photographs, or complex graphics that wrap around a mug.
Basic process:
- Print your design with a sublimation printer on special transfer paper.
- Secure it to the mug’s surface.
- Place it in a mug press and apply heat and pressure.
- Remove the paper to reveal the finished print.
Sublimation is ideal for small business owners who want total creative control or plan to handle production themselves.
Vinyl Decals (Cricut or Silhouette DIY)
For makers and DIY lovers, diy personalized mugs are a fun project, especially when you use permanent adhesive vinyl or permanent vinyl to create durable vinyl designs that last. Vinyl transfer is a great option for short runs and simple designs. It’s less about digital printing and more about hands‑on crafting.
Steps:
- Use a cutting machine (like Cricut or Silhouette) to cut your logo or phrase from adhesive vinyl.
- Weed out the excess vinyl around your vinyl design to make sure only the desired parts remain.
- Apply transfer tape and carefully stick the vinyl design onto the mug, making sure it’s positioned correctly.
- Seal with a dishwasher‑safe clear coat for durability.
For extra protection and to help the vinyl stay on the mug, apply a thin layer of UV resin or Dishwasher Safe Mod Podge over the design.
Vinyl offers strong results for minimalist or one‑color designs. It’s also a fun way to experiment before committing to a large batch.
For the most durable results with any DIY method, we recommend hand-washing your mugs instead of using a dishwasher. DIY personalized mugs can be made using oil-based markers, permanent adhesive vinyl, or a Cricut machine.
Screen Printing or Transfer Paper
For bulk corporate orders or promotional events, screen printing remains reliable and cost‑effective. It works best for single‑color logos or bold, simple designs, and is ideal when you need a large order of custom mugs for company events or bulk gifting, as it offers convenience and potential cost savings through wholesale or bulk discounts.
Transfer paper printing, on the other hand, allows slightly more detail but may not be as durable with frequent washing.
Both methods suit mass production, perfect for big giveaways, conference swag, or retail stock.
Step 4: Design Placement & Layout Rules
Once you’ve chosen how to print, focus on where to place your design. Good layout makes or breaks the final look.
Here are the top placement tips from experts and major promo suppliers like VistaPrint and 4imprint:
- Stay within safe zones. Keep critical parts, text, logos, and icons about 0.5 inches away from edges or handles to avoid distortion.
- Mind the handle area. Faces or detailed logos look awkward if they cross the seam near the handle.
- Choose your layout style:
- Single‑side design: Focused on one viewing angle, great for simple logos or featuring one image.
- Wrap design: Full‑color designs or patterns that encircle the mug.
- Two‑sided design: You can print different images or text on each side of the mug, making it easy to personalize with a photo on one side and a message or logo on the other.
- Test your layout. Print your design on paper, tape it around a blank mug, and view it from all angles. A simple test can prevent costly misprints later.
Step 5: Order, Test, & Iterate
Even a polished design benefits from a test batch!
- Order a small run first. Start with 1–3 samples to check quality before committing.
- Evaluate details: Look for color accuracy, alignment around the handle, and sharpness of lines.
- Make adjustments: Slight tweaks in size or contrast can improve final production quality.
- Ask for feedback: Share samples with teammates or customers. Honest reactions help you refine before scaling up.
Think of this as your prototype stage; it’s where creative ideas meet real‑world materials. Once you’re happy, you can confidently move to full production or online launch.

Coffee Mug Care & Maintenance
To keep your custom coffee mug looking its best, we recommend you give it a little extra care. Hand-wash your mug with mild soap and warm water, especially if it features a custom design or special finish. This gentle approach helps prevent scratches, fading, and wear on both the mug and the artwork.
Don’t use abrasive sponges or harsh chemicals; they’ll damage the surface and shorten your mug’s life. For ceramic mugs, avoid sudden temperature changes. Don’t move your mug straight from the microwave to the freezer, as this causes cracks.
Follow these simple care tips, and you’ll enjoy your custom coffee mug for years to come!
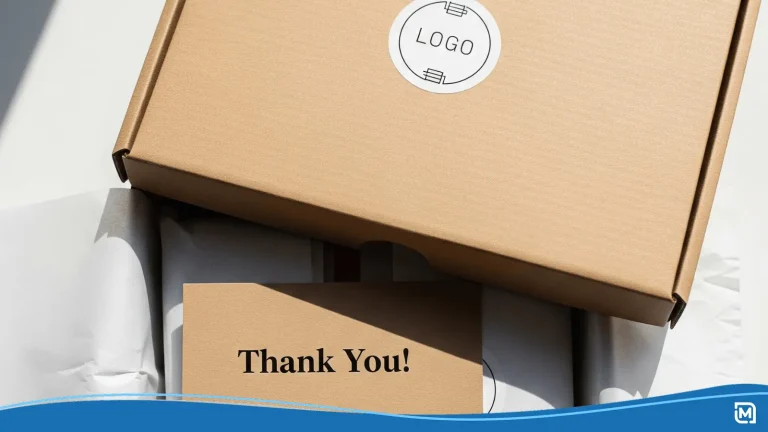
Custom Mug Packaging & Shipping
When you’re ordering custom mugs, we know the packaging and shipping process is just as important as the mug design itself. You’ll want to look for custom mug printing services that use secure, protective packaging to keep your mugs safe during transit.
We recommend finding companies that use sturdy boxes, bubble wrap, and careful handling. This helps prevent chips or cracks, so your mugs arrive in perfect condition.
Shipping times can vary based on your location and the shipping method you choose, so we suggest you always review the estimated delivery date and tracking information provided.
Turning Your Mug Designs Into a Full Branded System
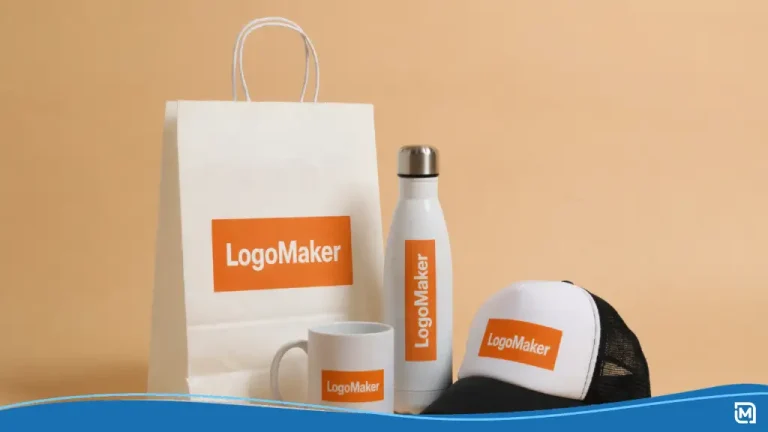
Why stop at mugs? Once you’ve created a strong logo or product graphic using LogoMaker, it’s easy to apply that identity across multiple touchpoints.
Here’s how to extend your design:
- T‑shirts and apparel: Reinforce your mug theme with matching sweatshirts or tees.
- Tote bags and notebooks: Offer cohesive sets for employee gifts, events, or retail bundles.
- Water bottles and travel tumblers: Keep your visual style consistent across all drinkware options.
- Branded website: Build a simple landing page or store; LogoMaker lets you keep the same logo, colors, and fonts across online assets.
A unified visual system, mugs, merch, and online presence tell a bigger story. It turns a single promotional item into the foundation of your brand identity.
Copyright Protection For Your Designs
Your custom mug designs reflect your creativity and brand. Don’t let anyone steal your artwork when you’re uploading and sharing online. Use design platforms and custom mug printing services like LogoMaker that offer secure storage and copyright protection features, like watermarks or restricted downloads. This guarantees unauthorized users can’t swipe your images and keeps your intellectual property locked down tight.
Before uploading any artwork, make sure you’ve got the rights or licenses to use all images, fonts, and graphics in your design. If you’re using original artwork or photos, keep backup copies and add a subtle watermark for extra security.
Take these steps, and you’ll confidently create, upload, and share your custom mugs, knowing your designs stay protected and uniquely yours.
Conclusion
DIY personalized mugs and unique mugs let you create your own mug as a thoughtful gift for loved ones, using photos, images, and text for personalization. The process can be creative, affordable, and surprisingly simple when you use the right digital tools.
With LogoMaker’s AI design platform, you can generate your logo, craft visually consistent artwork, and bring it to life on mugs, apparel, and your website, all without hiring a full design team.
Ready to begin? Start your custom mug journey with LogoMaker today; create your logo for free, preview it on merch, and watch your brand come to life one sip at a time.
FREQUENTLY ASKED QUESTIONS
What’s the best way to print logos clearly on a mug?
Use a high‑resolution file (vector preferred, 300 ppi minimum). Avoid thin lines or tiny text that can blur during printing, or not be visible from afar
Which printing method lasts the longest?
Sublimation printing typically provides the most durable, fade‑resistant result, especially for full‑color designs, including mugs and t-shirts
Can I design mugs if I’m not a graphic designer?
Absolutely! Tools like LogoMaker use AI to generate professional graphics and logos customized for your brand, which you can then use on promotional material such as t-shirts, mugs, tote bags, and even water bottles.
How many mugs should I order to start?
Order a small test batch (around 5–10 mugs) first. Once you’re satisfied with the print quality, you can scale up for resale or gifting. For testing purposes, you can even purchase one mug. LogoMaker has no minimum order quantity!
Can I sell my custom mugs online?
Yes! Most print‑on‑demand platforms integrate coherently with online stores like Shopify, WooCommerce, and Etsy. Upload your design and sell without handling inventory.
Should I choose a white or colored mug?
White mugs make colors pop and are the most versatile for printing. Colored mugs work well if your design contrasts strongly; test your color palette before committing.
How long do custom mugs take to produce?
Turnaround times vary: a few days for print‑on‑demand orders, longer for bulk screen-printing or sublimation batches. Always factor in shipping time for large events or holidays.
Do you have more tips for beginners making custom mugs?
Yes! If you’re just starting, using a cutting machine to create stickers is a common and beginner-friendly way to decorate mugs. We hope you feel encouraged to try making your own custom mugs; professional-looking results are absolutely within your reach. Enjoy the process and don’t hesitate to experiment with different techniques. You can always ask experts in custom coffee mugs to make them for you at a very low price.
What’s the best way to clean mugs before decorating, and how do I fix mistakes?
Before decorating, clean your mug with rubbing alcohol or vinegar to remove oil and dirt for better adhesion. If you’re using oil-based paint markers, you can clean up mistakes right away with rubbing alcohol.
What size are most custom mugs?
The standard size for custom mugs is typically 11 oz, which is great for everyday use. If you prefer a bigger cup, larger sizes like 15 oz are also available.